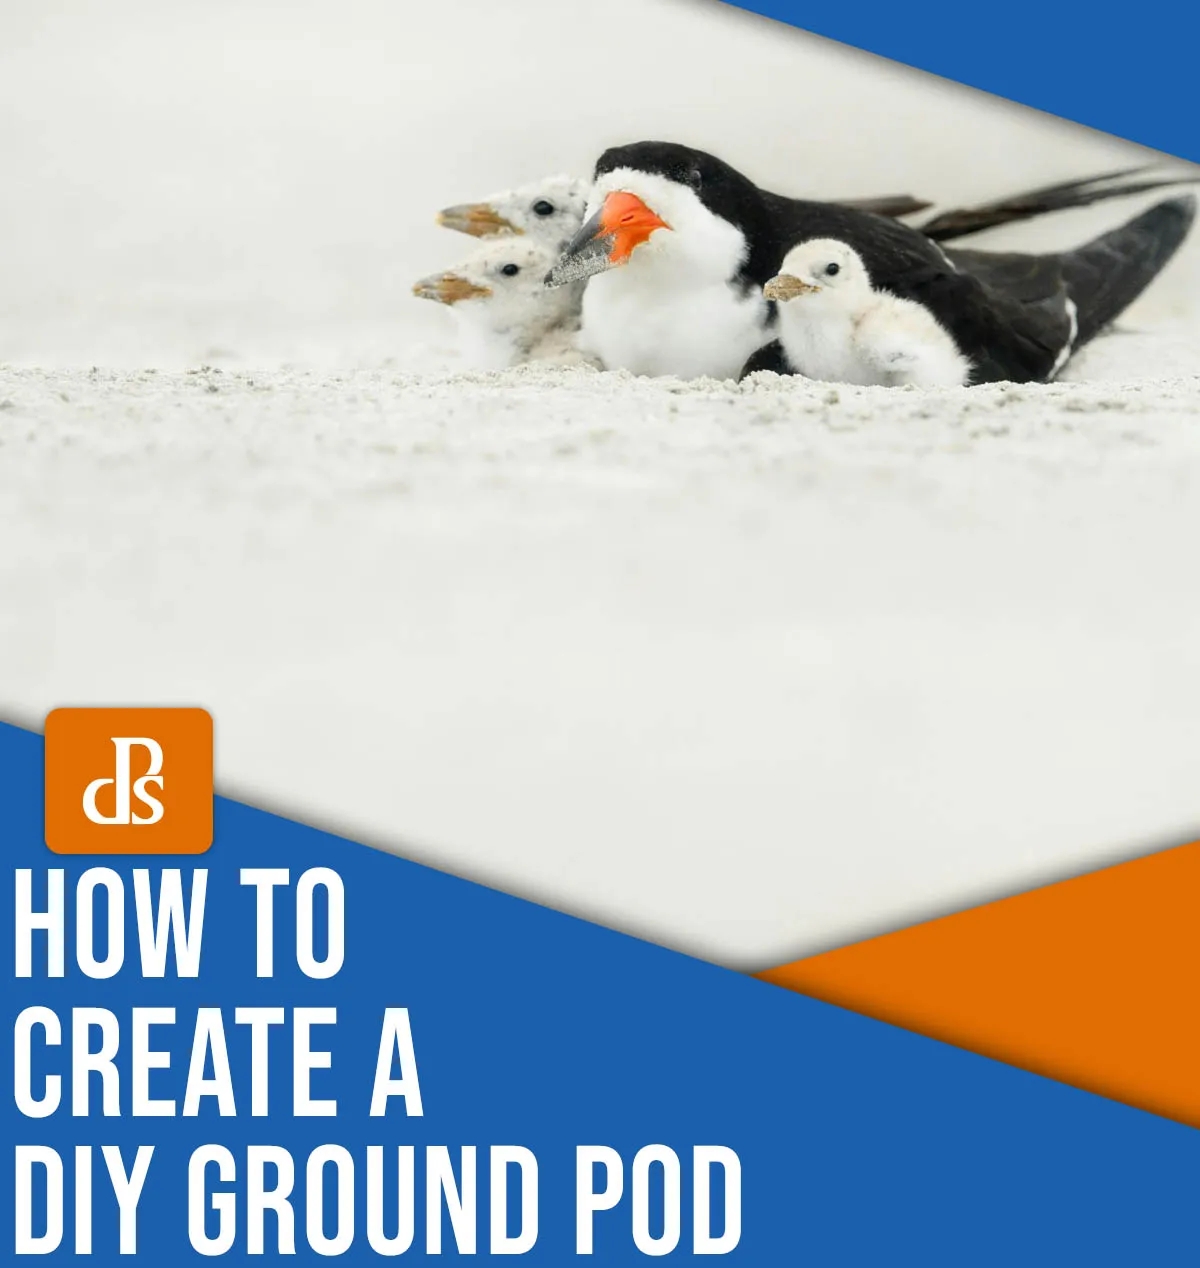
You must adjust your angle to shoot at the eye level of the animal in order to take stunning wildlife photos. There are exceptions, such as when capturing scenes with wildlife and the environment, but in general speaking, eye-level photographs are the best.
Shooting at eye-level can be difficult when an animal is near the ground. You’ll understand what I’m talking about if you’ve ever been down on the ground to take a photo of a bird, or smudge a small mammal. It can be awkward trying to hold yourself, your camera and your telephoto while also trying not to get your gear dirty or wet.
A tripod is one solution. Some tripods will allow you to lower the tripod by opening up the legs as far as they can go. Others may even open all the way so the tripod is flush with the ground. This setup is effective, but it’s a bit awkward, especially when you need to pan or follow your subject.
This is where the ground pod comes into play. It is flexible, effective and easy to make. You can buy dedicated ground pods for cameras, but they are not necessary. I made my own DIY groundpod using household items, and I paid far less than what I would have paid for one from B&H.
This article will show you how to create a DIY groundpod. With a few dollars, and a bit of work, you can take low-angle wildlife photos , without worrying about your equipment.


