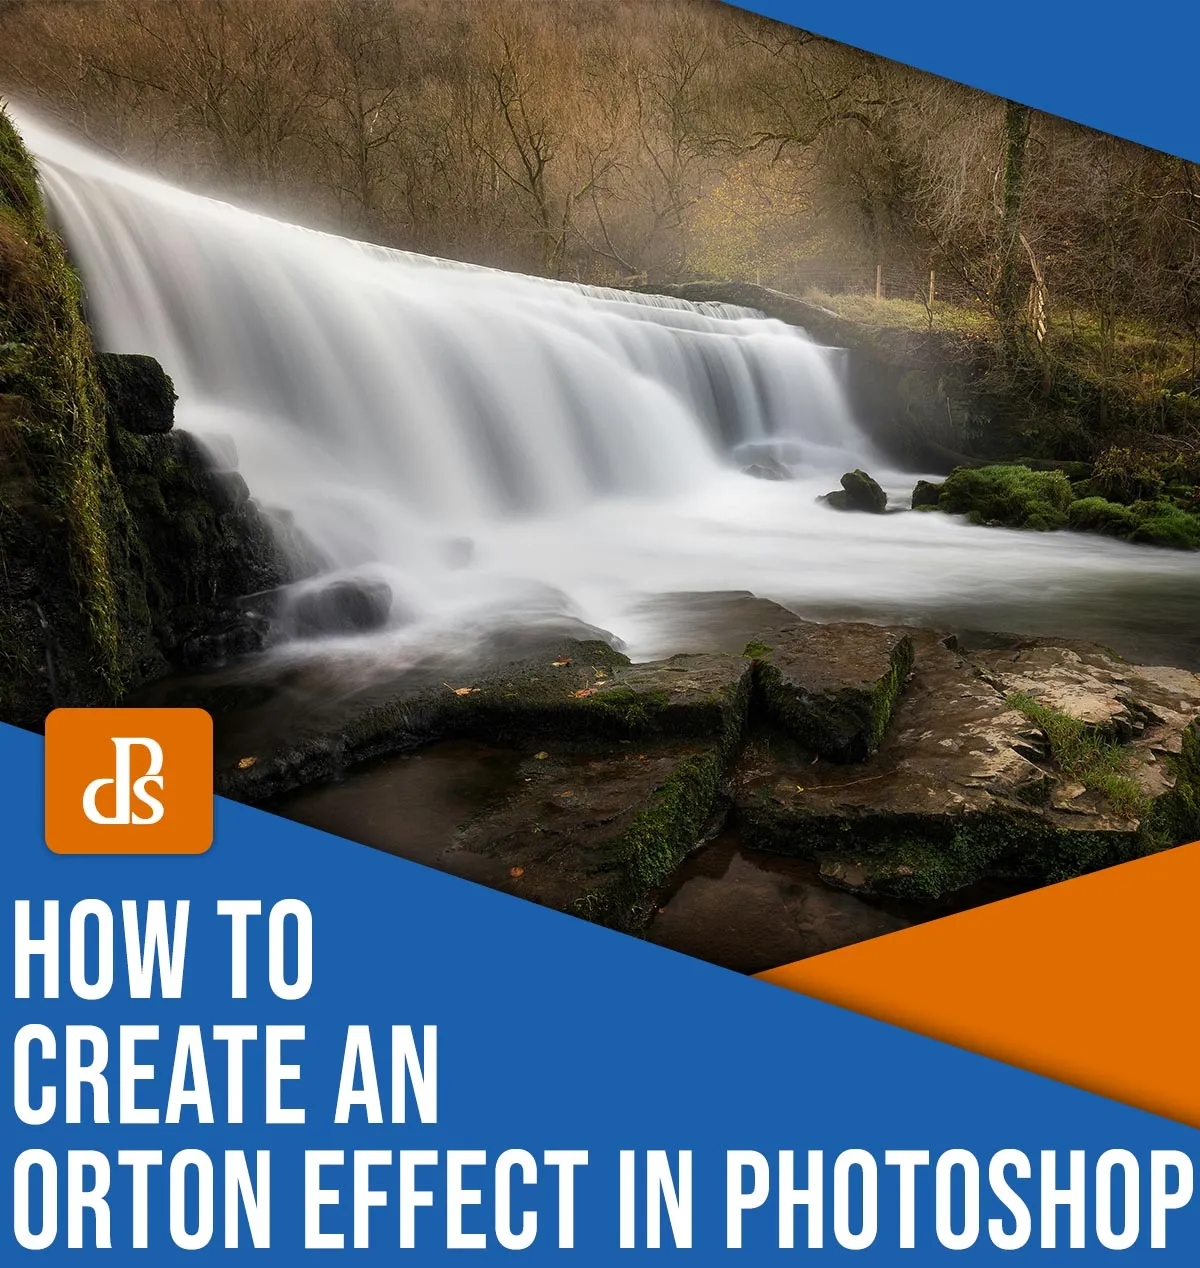
You’ve probably seen this technique in action at least once, even if you haven’t heard about it. The Orton effect was originally developed in the darkroom. It has since made its way to the brave new worlds of digital image processing. Photographers now use it regularly to add a subtle glow to their photos.
Once you have mastered the basics of creating an Orton effect in Photoshop, it will be easy to add this feature to your editing workflow. Here, I’ll explain how to add a customizable Orton Effect and offer some tips on how to do it.
Let’s jump right in!
What is the Orton Effect
The Orton effect is a way to create soft, pictorial images. But it’s so much more than just a soft focus look.
Where did this effect get its name from? Michael Orton was the name of the inventor who developed the technique in the 1980s.
Originally, the original method required at least two frames of transparency film (and sometimes more). The first frame would have the subject in focus, and the second would show the subject deliberately out-of-focus , and the image would be slightly underexposed. The frames would be sandwiched together to create what Orton called a “painterly photograph”.
The Orton Effect, as I mentioned, was first applied in the darkroom. But thanks to Photoshop, it is now possible to recreate this effect. There are many ways to get a similar effect in Photoshop. The method below is not only quick, but also gives you a lot of control over the final look.


